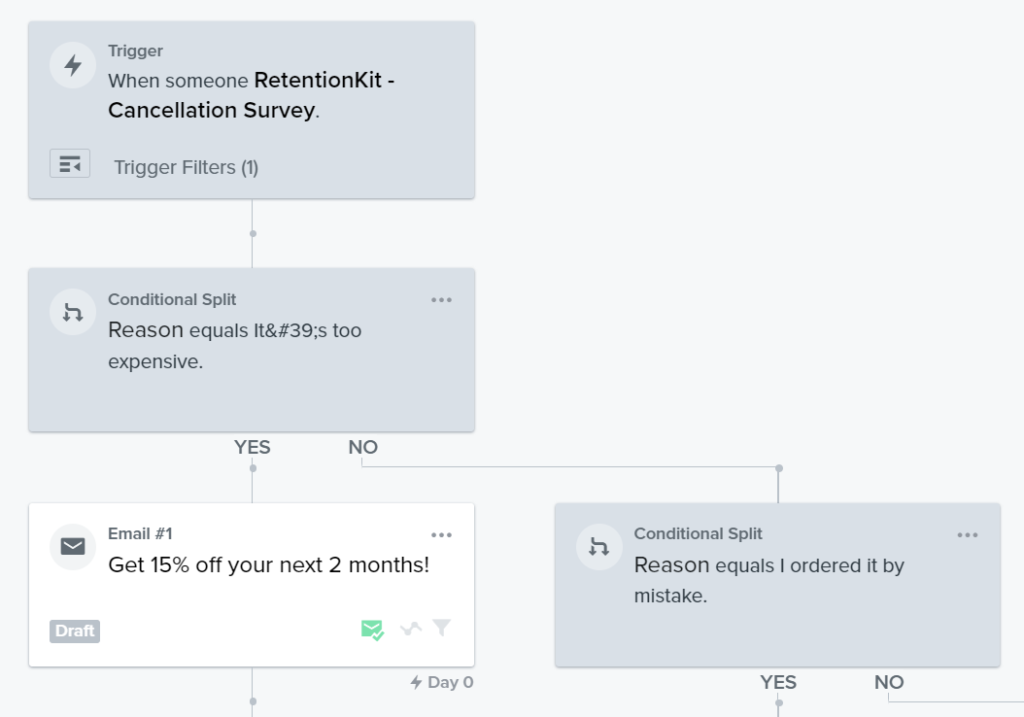
1. Integrate RetentionKit with Klaviyo
Check our documentation on how to integrate RetentionKit with Klaviyo here. Once the integration is completed and you trigger this event from your website you’ll be able to see a new metric called “RetentionKit – Cancellation Survey”.
2. Create custom properties for the RetentionKit survey responses
1.Log into your Klaviyo account and navigate to the “Profiles” section.
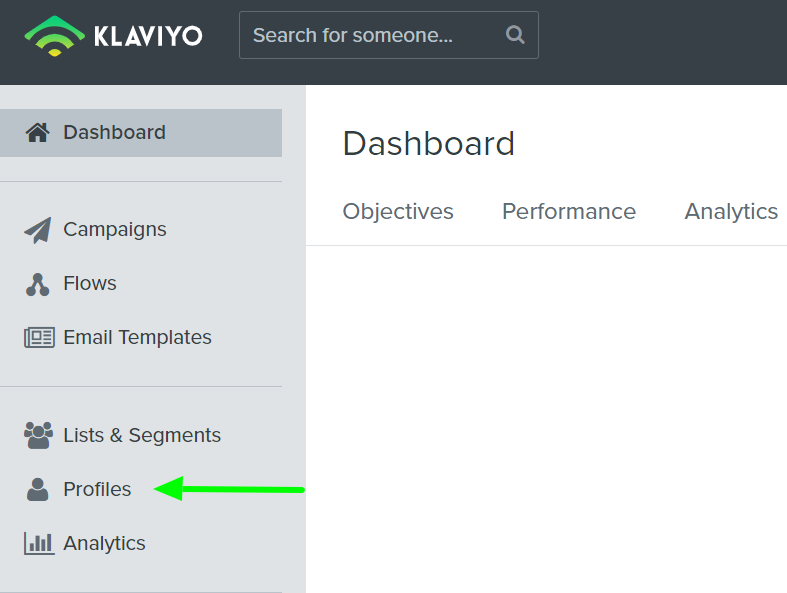
2. Select a profile of someone who has triggered RetentionKit.

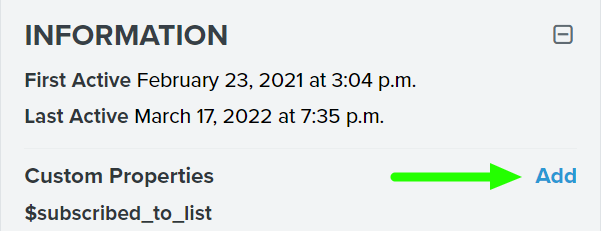
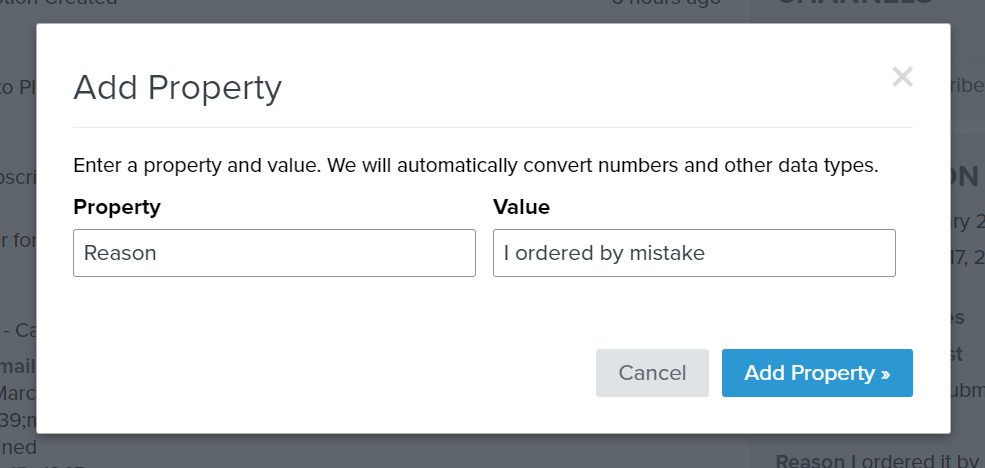
3. Scroll down to the “Information – Custom Properties” section and click “Add”.
4. Then set the name of the property as “Reason” and add the survey response.
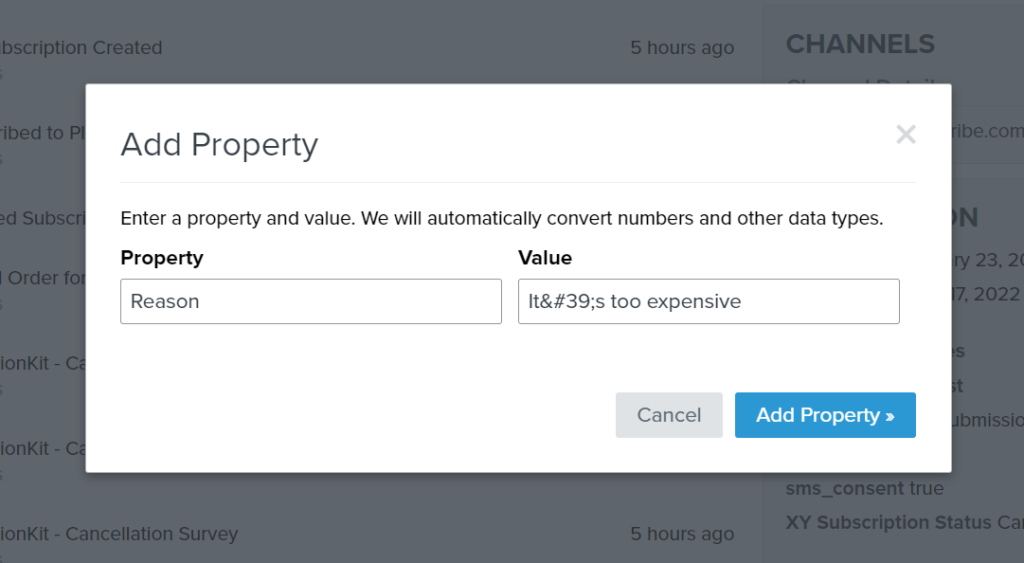
5. Repeat the process to add the other survey responses.
3. Create the winback flow
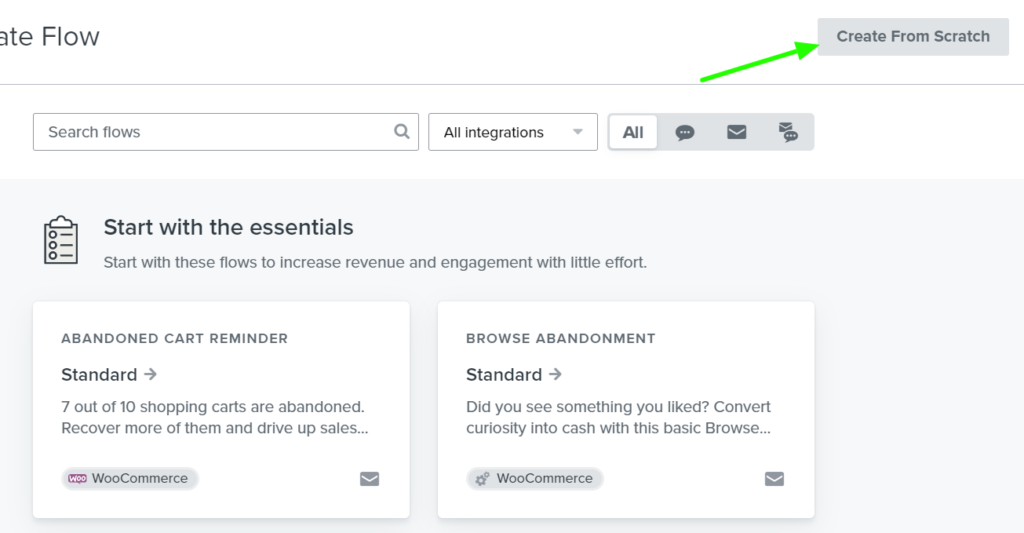
- Go to the “Flows tab” and click “Create Flow”. Then “Create flow from Scratch”.
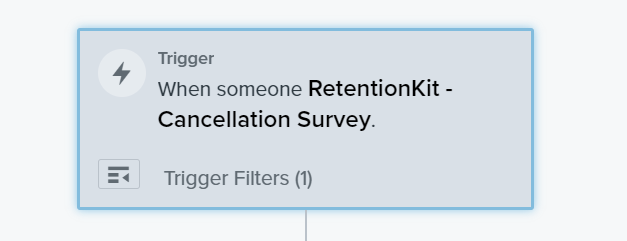
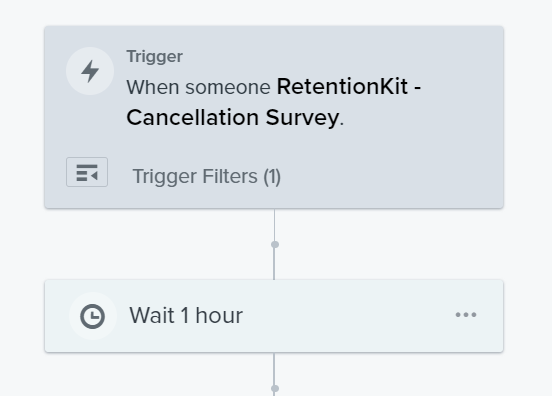
2. Add “RetentionKit Cancellation Survey” as the trigger metric for the flow
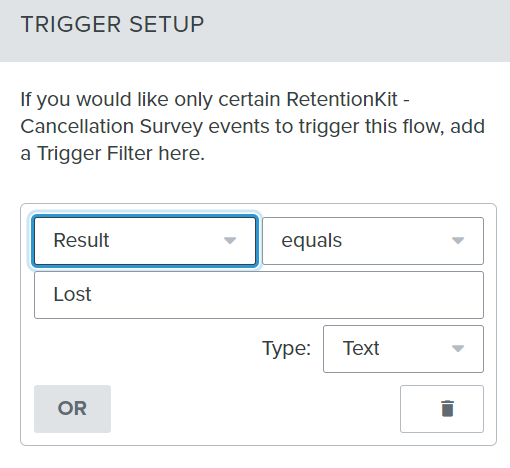
3. Add a the trigger filter “Result equals Lost”
4. Add a time delay
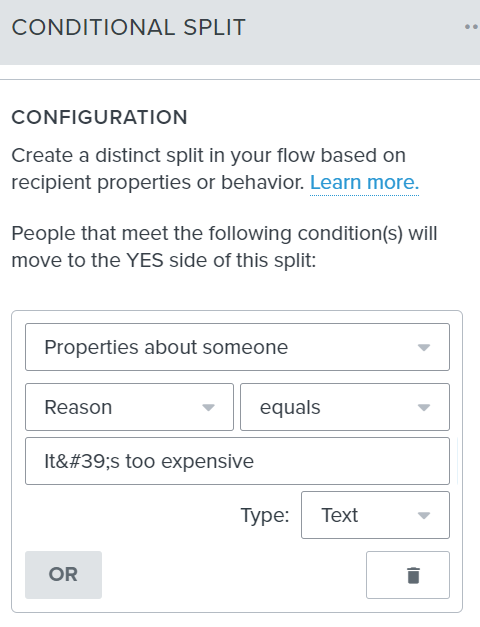
5. Add a conditional split Properties about someone where the Reason equals the response you choose.
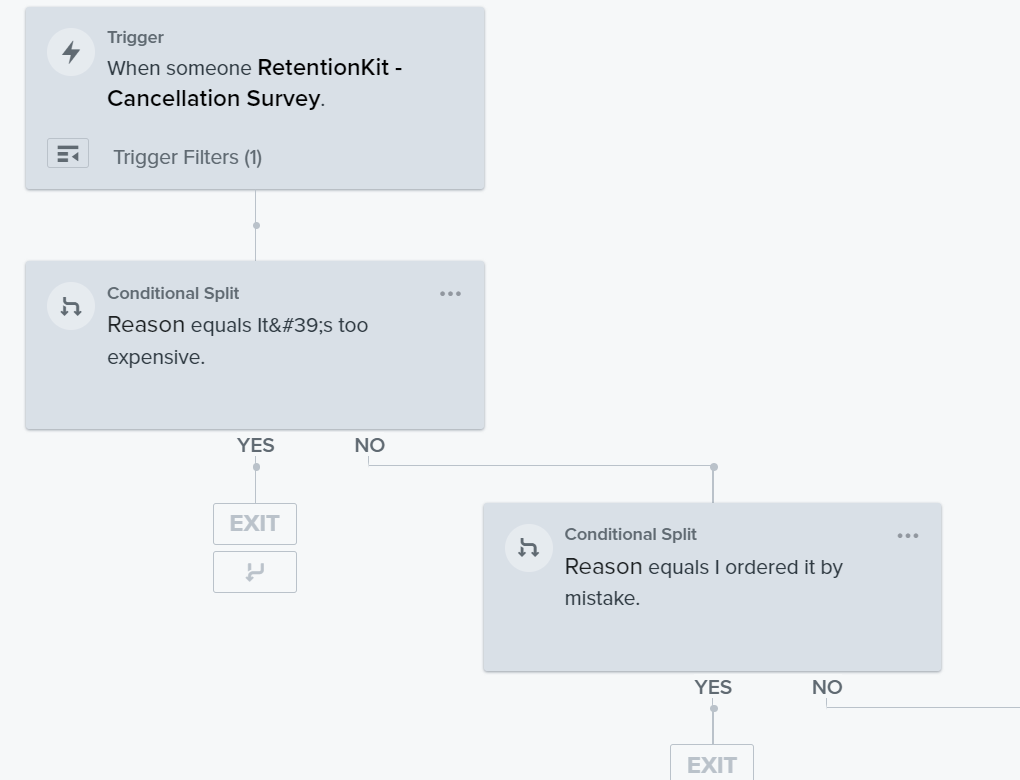
6. Add another conditional split on the no path and add the next cancellation reason. Repeat the process for all the survey responses you’d like to include.
7. Add an email or a series of emails that target each cancellation reason. For example if the customer is cancelling because the subscription it’s too expensive offer them a discount off their next two months or any other extra incentive that’s valuable for them.
